If you’ve been gardening for a while, you’ve likely heard that you shouldn’t use garden soil in containers or as a seed-starting medium.
But garden soil is free and it’s right there for the taking. So, what’s wrong with using it? The short answer is that soil used in any kind or size of container should be light, fluffy and specially formulated to provide optimal growing conditions. Specifically:
- Garden soil, particularly if there is clay in it, may not drain well. Seeds and young delicate roots are prone to rot in excessively wet soil. Further, when soil is wet all the time, its oxygen gets used up, and microorganisms that require oxygen die. The lack of beneficial microorganisms opens the door for anaerobic bacteria and pathogenic fungi to move in and kill off your plants.
- At the same time, soil in containers needs to retain some moisture since plants can’t grow without it. If your garden soil is sandy, it may have difficulty retaining moisture.
- Loose soil provides good aeration, so that roots have room to breathe and grow. When packed into a pot, garden soil may hinder air flow.
- Garden soil can contain weed seeds, which will be annoying to deal with; it also may contain pathogens, which are more serious as they are potentially lethal to your plants.
Still, garden soil is free, right? And sometimes it’s fun to experiment and try something you’ve never done.
Need Non-GMO Heirloom Seeds? Get Them From A Company You Can Trust!
If you’re up for it, you can make your own organic potting mix out of garden soil. To do it, you will need to sterilize the soil and gather some things to amend it with.
Sterilizing Garden Soil
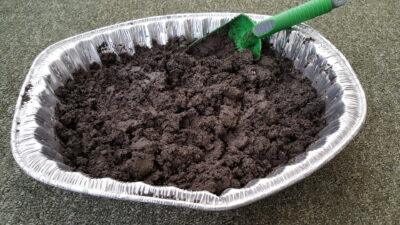
There are three ways to sterilize soil . The fastest way, especially during early spring, is by baking it in your microwave or conventional oven. (In the hot summer months, you can sterilize it by spreading it on a plastic sheet in the sun, and letting it cure for 4-8 weeks.)
Microwave Method
I have not used the microwave method, so I can’t speak to it, but this is what you do:
- Moisten up to two pounds of garden soil. Aim for a mud pie consistency; it should be thick and moldable, but not soupy.
- Put the moistened soil into a heavy plastic bag and leave the top of the bag open.
- Place the bag in the center of the microwave.
- Run the microwave on high, and plan to do so for 2-5 minutes.
- Periodically, stop the microwave and stick a meat thermometer into the soil.
- Once the soil reaches a temperature of 180 degrees Fahrenheit, remove the bag of soil from the microwave and place it in a cooler or other insulated container. The insulation will hold the heat in so that the sterilization process can complete.
- Leave the bag in the cooler until the soil has completely cooled off. It is then ready to be amended.
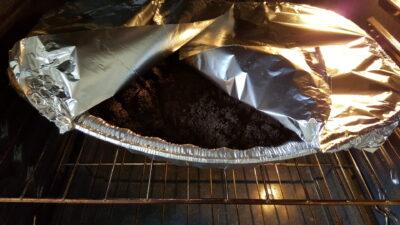
Conventional Oven Method
I have sterilized soil in my oven. This is what I can tell you: It takes a long time and it doesn’t smell all that lovely. It’s best to do this on a nice day when you can open some windows. And maybe light some candles.
- Fill an oven-proof container with garden soil to a depth of about three inches. I used a foil roasting pan.
- Moisten the soil thoroughly. Again, aim for a mud pie consistency.
- Cover the pan with foil and stick it in an oven that’s been preheated to 200 degrees Fahrenheit.
- Bake the soil until a meat thermometer indicates that it has reached a temperature of 180 degrees. This likely will take 6-8 hours.
- Once the soil reaches 180 degrees, let it bake for an additional half hour. Do not over bake.
- Once it cools, it’s ready to be amended.
Amending Garden Soil Into Potting Mix
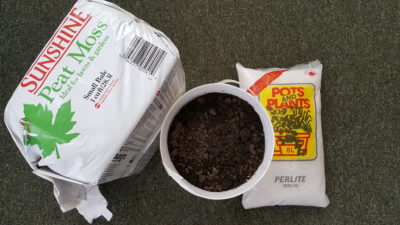
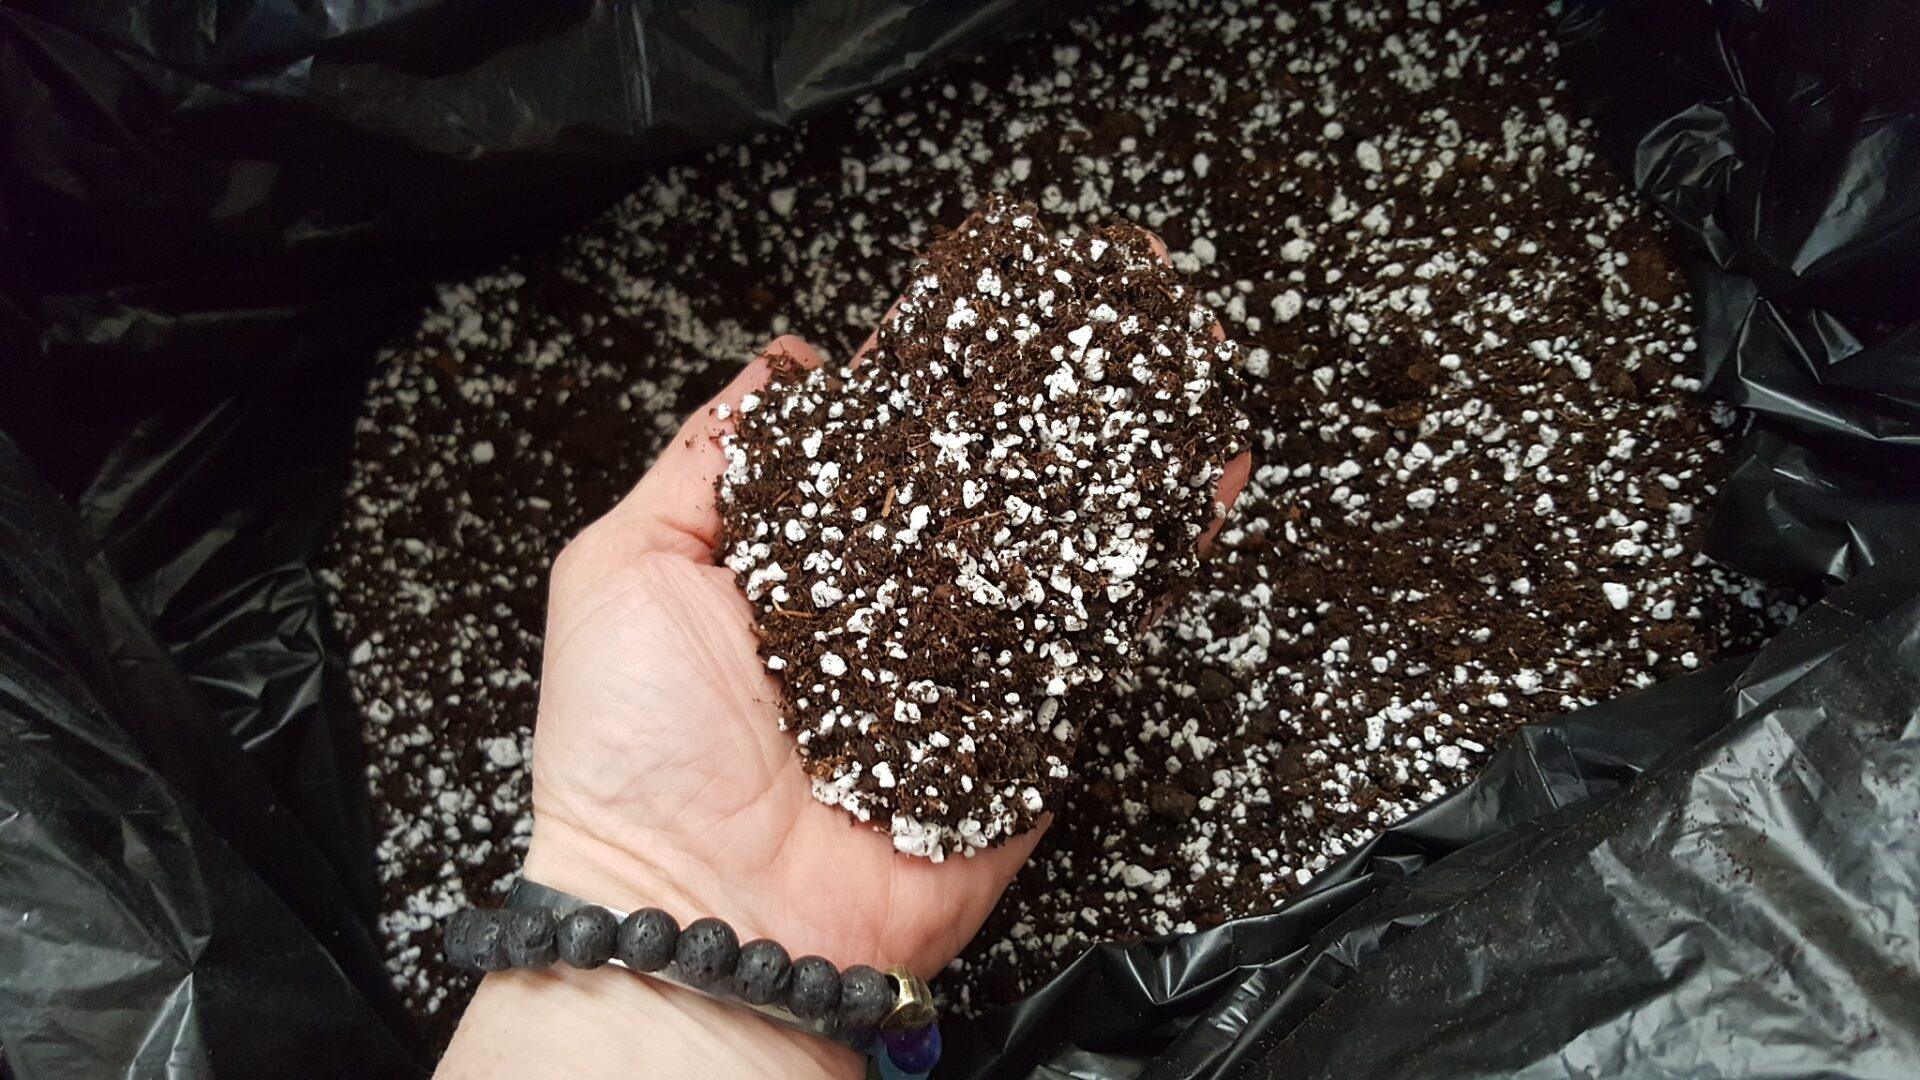
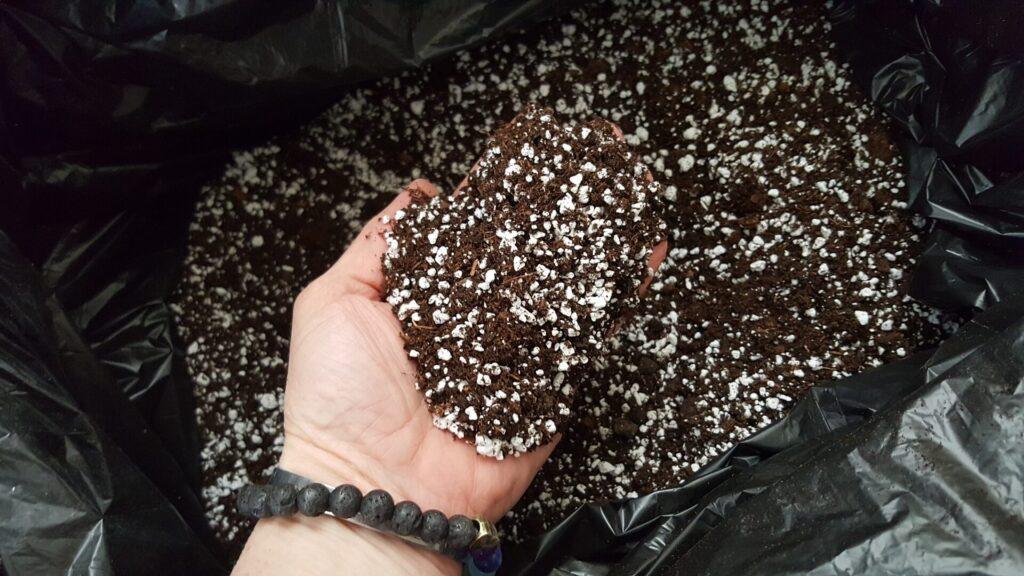
The University of Illinois recommends that garden soil be amended by mixing together one part sterilized soil, one part peat moss, and one part perlite or coarse builders’ sand. Peat moss is used to help your potting mix retain moisture, and it also creates the air space that roots need. Perlite also provides air space, and helps keep the potting mix light and fluffy, as it should be.
To mix my soil, peat moss, and perlite together, I lined a cardboard box with a heavy plastic bag and scooped the ingredients in. Once everything was in, I pulled the bag out of the box and gave it a good shake to mix everything together. And voilà! A healthy, well-balanced potting mix awaits seeds and plants.
What about you? Have you ever made potting mix at home? What method did you use, and what tips would you add? Share your thoughts in the section below:
Bust Inflation With A Low-Cost, High-Production Garden. Read More Here.


