 I have to admit—as a certified graduate of a cardio-pulmonary resuscitation (CPR) course—the first time I saw a link for online instruction in CPR I didn’t know whether to be amused or appalled. I still have no doubt that a live training course is the best way to learn CPR, and will address specific reasons for that below. That said, I also have to admit that I am impressed by the online resources that are now available just through typing “how to CPR” into the search box.
One of the things I have just learned is that as of October 2010, new guidelines have been issued for how to start CPR, and the usefulness of doing only chest compressions—“hands only CPR”—has been established and is actually recommended for lay rescuers who do not have classroom training:
- [2010 guidelines stress immediately calling 911] and starting chest compressions for any unresponsive adult victim with no breathing or no normal breathing (e.g., only gasps)….
- Initiate chest compressions before giving rescue breaths….
- [Chest compressions must allow] complete recoil of the chest after each compression…The recommended depth of compression for adult victims has increased…to a depth of at least 2 inches.
Quick Summary of the “New” CPR (with illustrations here):
- CALL—If a person is not responsive and not breathing or not breathing normally, call 911 and return to the victim. The dispatcher can usually coach you through CPR.
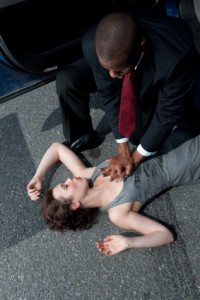
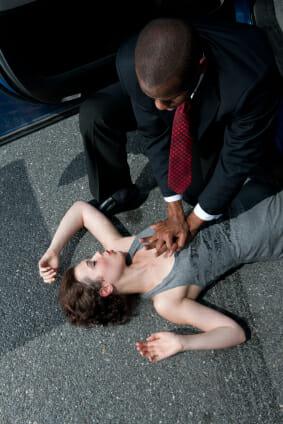
- PUMP—If the victim is still not breathing normally, coughing or moving, begin chest compressions. Lace fingers and push down in the center of the chest 30 times. Pump hard and fast, compressing the chest at least 2 inches at the rate of at least 100/minute, faster than once per second. Release all pressure from the chest to allow full expansion between each pump.
- BLOW—Tilt the head back and lift the chin. Pinch nose and cover the mouth with yours—for a small enough child, cover both mouth and nose with your mouth—and blow until you see the chest rise. Give 2 breaths, one second each.
About.com First Aid expands on this procedure with some contingencies, and offers videos as well.
Those already trained in CPR will note that the previous “Look, Listen, and Feel” instructions to assess breathing have been discarded in favor of a quicker observational assessment. The changes were based on effectiveness research, and made in the hope that simplifying the start of the process and promoting the hands-only option would increase participation by bystanders who witness a collapse, with the expectation that professional rescuers would have the expertise to modify the procedures as appropriate for particular cases.
Parents, Get Yourself Real Training!
Parents and those responsible for children’s safety should take note: Although survival rates among adults are about the same whether rescue breathing is administered or not, children do better with the classic combination of compression and rescue breathing. The consensus is still that proper placement of the head to clear the airway is best learned in hands-on classroom training if it is to be effective.
For parents, it is also good to have exposure to a trainer who has been in the trenches and can help address not only the mechanics of the technique but the anxieties and contingencies that can arise. For instance, what if you think you break a rib while administering CPR to your spouse or child? (Answer: keep going.) What if you think you might have punctured a lung? (Answer—you guessed it—keep going.)
You also may find, as I did, that certain things are not anticipated in a one-size-fits-all online template. No guide that I have seen, for example, shows the rescuer lying next to the victim to administer rescue breathing, but in my first attempt with the dummy that is exactly what I found myself doing as I alternated between breathing and chest compressions. The instructor was savvy enough to see that my technique worked best for me and gave it as an example to the class to be sure to do whatever worked for them.
Most online information sites link to training resources. If you are in a rural area, tracking down training might be yet another reason to get information on your local volunteer fire department, or to help with organizing one if none exists.
The Thing You Need to Know
Probably the most important thing I learned in CPR class is that the lay rescuer, despite what we may have seen on TV or in the movies, cannot expect that the recipient of CPR will return to consciousness. It simply does not work that way.
The real purpose of CPR is to keep blood and oxygen flowing to the brain until more elaborate attempts at revival can be administered by professionals. You are probably not going to be bringing anyone back from the brink without at least a defibrillator. Your intervention and perseverance can, however save a life or save a brain.


