There is no doubt that the world wide web contains a wealth of information. How-to videos are easy to find for just about everything, and articles full of clever hints and hacks are all over the place.
But this article is not just another list of cute-but-impractical ideas. Most of these tricks are ones which I actually use myself on a regular basis to make my food preservation projects easier and more efficient. (I will explain the two exceptions at the end.)
Although I have embraced the arts of home food preservation for less than 10 years and have spent much of that time on a steep learning curve, I have been fully immersed in everything homesteading and surrounded by others who share the lifestyle. As a result, I have been able to pack plenty of great ideas into my bag of food preservation tricks, and have compiled a few of my favorites to share with others on the same journey.
1. Store onions in nylon hose. Aside from temperature and humidity control, one of the other important factors in keeping onions fresh is preventing them from touching each other. The key to accomplishing this is easy: Just store them in nylon stockings with knots tied between them. Any sort of hose will do; if you have tights or panty hose, just cut off the legs for use and throw out the top. Make sure they are clean, of course, since you will be storing your food in them. Place an onion into the clean hose, push it all the way to the toe, tie a knot in the hose, and repeat with another onion and another knot. Leave enough hose at the top to tie a loop, and hang the loop from a nail on the rafters of your cellar or a hook on the ceiling of your food storage area.
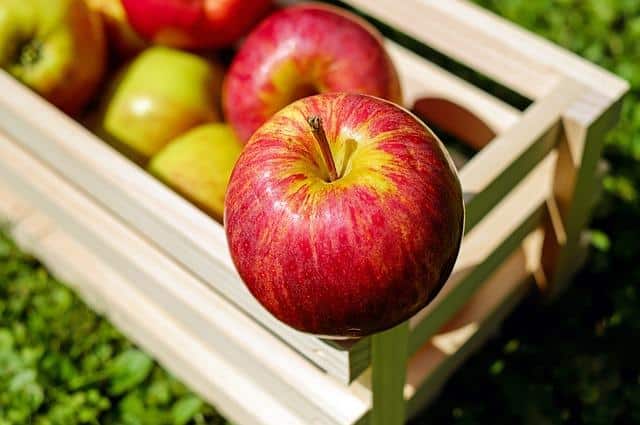
2. Keep apples separate during storage. Many people do not realize that apples give off a gas which causes other fruits and vegetables to ripen more quickly. While this is a great way to treat unripe fruit in a mixed fruit bowl, it creates unfavorable conditions for root cellars and can cause loss of produce. If at all possible, keep your apples stored apart from your squash and root vegetables.
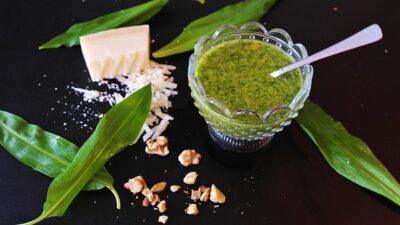
3. Use a scoop for pesto. After years of doing it the way everyone else does, I finally came up with a better way. The conventional method for freezing pesto is to put it in ice cube trays, freeze it, and then pop it out and store it in zip-top bags. Nice, unless you are the one who has the tedious job of cleaning out all of those oily little individual ice cube cups. This year, I tried using a small ice-cream style scoop—specifically, a size 40 disher, for those who use restaurant equipment—instead. My freshly processed pesto was too soft immediately, so I chilled it in a covered bowl in the refrigerator overnight. The next day, it was the perfect consistency for using a disher to make little balls of pesto. I scooped it out onto waxed paper on a cookie sheet. Once frozen that way, it was an easy task to toss the perfectly shaped and portioned pesto balls into a zip-top bag for storage, and cleanup was a breeze.
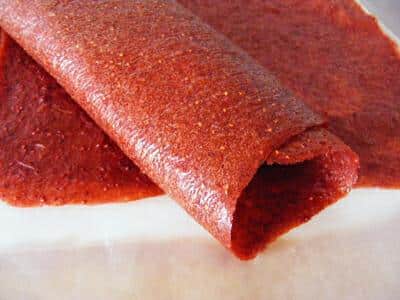
4. Use whatever fruits you have on hand for fruit leather. I am a great believer in adhering to food preservation recipes, with one exception. Fruit leather projects around my place turn into a fruit free-for-all. If I happen to be making peach leather, but there are a couple of bananas that are a little too soft for fresh eating lying on my countertop, I throw them into the food processor with the peaches.
‘Miracle Oil Maker’ Lets You Make Fresh Nut Oils Within Minutes!
On the other hand, if my apple leather project happens when there are once-frozen peaches now thawed and unappealingly discolored in the refrigerator, they end up in the leather as well. Mixing fruits for leather is safe and generally rewarding.
5. Use a salad spinner when blanching vegetables. This is a fantastic tip I learned from my Master Food Preserving Program instructor. After processing your broccoli or green beans in boiling water and then plunging them into an ice bath, the next step is to remove as much water as you can before packing them into freezer containers. You can spin almost all vegetables dry using a salad spinner, even the bulky ones like cauliflower or Brussels sprouts—just cut the vegetables into reasonably sized chunks and be sure not to overload the spinner.
6. Use a regular drinking straw to remove the air from freezer bags. The more air you can remove when packaging vegetables into zip-top bags, the better quality the frozen result will be. You can buy a vacuum seal machine if you want to, but that means greater expense, additional storage space and hassle, higher cost for bags, and less ability for reuse. Alternatively, you can manually suck the air out with a straw and pinch the seal around it as you withdraw the straw. It is an easy process and takes only a few seconds per bag.
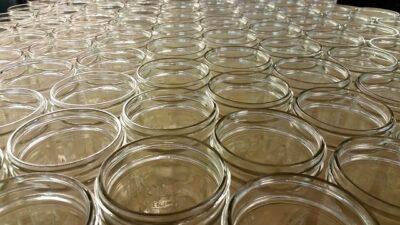
7. Keep jars warm in the canner. This sounds like a no-brainer, but many experienced home canners do not know about this. When I prepare for a canning project, I first place my clean jars into whatever canner I am using, cover them with water, and set them on the stove to heat. By the time my product is prepared and I am ready for jars, I simply lift them out a few at a time for filling, and return them afterwards for processing. You will have too much water for pressure canning this way and will have to pour some out before processing, because you need just a few inches instead of enough to cover the jars. If you heat your lids, you can drop them into the canner with the jars as well.
8. Mouse-proof plastic totes with hardware cloth. Large plastic storage totes make perfect storage for root cellaring, except for the problem of what to do about the lid. If you leave it on, the vegetables cannot breathe and the air in the container will become too humid. But if you take it off, rodents get into your bounty. The solution is to cut out a piece in the center of the lid and cover the hole with hardware cloth using heavy-duty glue or duct tape. You can adjust the size of the mesh according to the particular pests that threaten your produce, and may even need to use window screen if insects are an issue.
9. Keep raw tomatoes in the freezer until you have enough for processing. There is a lot of space between having just enough to eat fresh and having enough to can a whole batch of sauce. In the interim, many wise home food processors simply toss them into the freezer. When there is enough—or when you have time to do the work—simply take them out and cook them as usual, remove the skins in a food mill, and continue the sauce work.
10. Store berries in the freezer for making jam later. There is a lot of living to be crammed into short northern summers, and sometimes there is not time for jamming when the berries are ripe. And besides, standing over a pot of boiling fruit is far more appealing in November than it is in August. Using frozen and then thawed berries for jam can be the answer to short, hot busy summers.
The last two items are those which I do not do personally. The reason is simple—freezer space. I begin every summer with an empty 15-cubic-foot freezer, and by early October every square inch is full. I have a second freezer which I use for meats and other miscellanea, but space is at a premium in that one, as well. By the time my long-season paste tomatoes start ripening, there is no room for them in either freezer.
By incorporating some of these simple tips into your regular routine, you can benefit from the tried-and-true wisdom of the homestead community and begin to build your own bag of food processing tricks.
What food storage advice would you add to our list? Share your tips in the section below:


