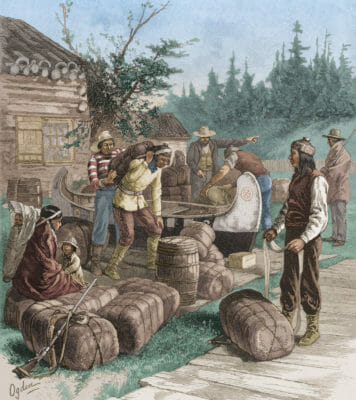
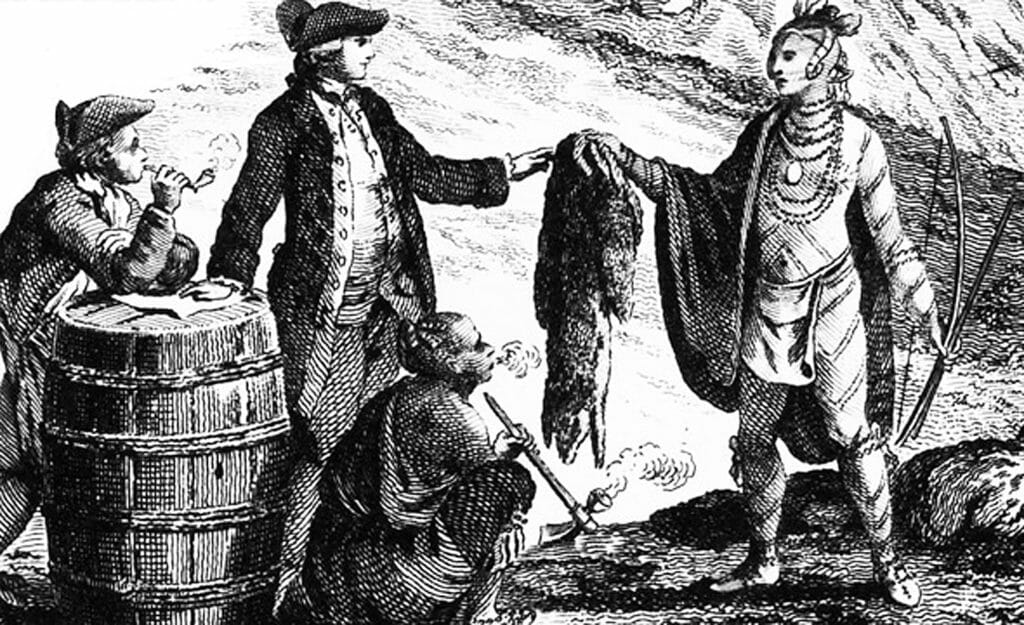
It was a food invented by the Native Americans, who depended on it when traveling on long and adventurous journeys when food was scarce, or when there simply wasn’t time to hunt and gather enough to eat. That was a lesson well-learned by many early European settlers, explorers and fur traders in North America.
It was pemmican, which was the ultimate survival food for centuries and quickly became a staple food for fur traders, voyageurs and Arctic and Antarctic explorers. The reason was simple. It was high in protein and calories, and high in fat. Fat offers the best calories for cold weather and the most calories for people who were subject to brutally physical work, temperatures and conditions.
The word “pemmican” is a derivative of a Cree Indian word “pimihkan.” Curiously, the word “pimi” is the Cree word for “greasy fat.” On a fundamental level, pemmican is a mixture of dried and powdered meat, animal fat, wild berries and salt. The fat to meat ratio was typically 1:1, or 50 percent powdered meat and 50 percent fat. Some recipes vary that ratio, and typically less fat was used in warmer climates.
Prepared properly, pemmican can last for years and years, although adding anything to it besides meat and fat will reduce the shelf life. There are reports of some pemmican lasting 50 or more years. According to a popular social studies book used in Canadian schools, “Pemmican was high in calories and protein, and could be stored in leather bags for years at a time. It was also portable, much like protein bars available today.”
A curious side note on animal fat is that it has food preservative properties. Pioneer women would pack a crock with cooked meats and pour a layer of fat over the top, allowing it to cool and congeal to preserve the meat.
The recipe by the old Hudson Bay Company – which was founded in 1670 and was key to the fur trade — used buffalo meat and buffalo fat in addition to the marrow from the buffalo bones. We’ll get into the specifics of that type of recipe in a bit. I’ve experimented with various pemmican recipes and ways to prepare and enjoy this very rustic and primitive food.
Crazy Gadget Makes Every Window A Cell Phone Solar Charger
At the outset, the recipe used game animals from moose to elk and venison as the primary ingredients. Eventually, beef emerged as the primary meat ingredient and it was most commonly used by Arctic and Antarctic explorers including Admiral Peary, Roald Amundsen, Robert Falcon Scott, Fridtjof Nansen, and Sir Ernest Shackleton. In many cases both the men and their sled dogs subsisted on pemmican.
An important consideration for any recipe in the last century up to today is the type of fat used in pemmican recipes. Beef tallow and beef marrow are the fats of choice, in addition to suet. Suet is the hard, beef fat found around the kidneys and loins of cattle. Avoid lard in your pemmican recipes. Lard is pork fat and I have found few recipes that recommend it going back 200 years.
The meat is just as important and should be trimmed of all fat and sliced into thin strips. Reserve the fat for rendering, but you don’t want any fat on the meat because of a critical step in the recipe process. That step involves drying the meat.
There are varying drying approaches that we’ll cover, but the critical success factor is that the strips of meat are hard and brittle. The goal is to dry the strips of meat to a hardness that will allow you to break it and crush it into something approaching a dust.
As time went on, varying dried fruits were added to the recipe. Native Americans used dried choke cherries and cranberries. Later recipes used by adventurers and explorers added dried cherries, blueberries and currants, all of which were also pounded into bits.
The dried berries add a vitamin component, including vitamin C. The amounts vary by recipe, but you always can adjust to your taste.
Classic Pemmican Recipe
The following recipe was used during the 1700s.
Hudson Bay pemmican was made from buffalo meat. The lean meat was cut into strips and dried in the sun for two to three days or over a fire until it was hard and brittle. The strips of hardened meat were then pounded into a powder, either with a wooden mallet on a stump or between two stones.
The fat and marrow of the buffalo was then melted and mixed into the powdered meat to make a paste (using a 50/50 mixture). This was then allowed to harden and was wrapped and rolled into a rectangular piece of buffalo hide. The cold temperatures of the Arctic and far north kept it from spoiling, although pemmican stores very well.
Admiral Peary’s expedition to the North Pole subsisted on a pemmican made from dried beef ground into a powder, beef tallow or beef fat and dried fruit.
Meat-Pulverizing Tips
You don’t have to crush the meat between two stones; you can use more contemporary approaches. These include:
- A hand-turned meat grinder. This gets the dried meat into small bits and you can continue to run it through in a series of batches to get it as fine as you want.
- A blender. Just make sure to do it in batches until you get the consistency you want.
- A food processor. But if there is any moisture at all, the speed of the processor will turn the meat into a paste, so grind the dried meat in bursts.
The size and consistency of your pulverized, dried beef can range from small bits to the dusty powder used by pioneers. That’s up to you. I prefer the small bits, but make sure they’re very small or you’ll spend the rest of the day trying to get bits of dried beef out of your teeth.
Beef-Trying Tips
 I use a food dehydrator. It’s the same one I use to make jerky; I just extend the drying time. To test a piece, take it out of the dehydrator and tape it on the counter. It should make a hard sound rather than the dull thud you’d get from a piece of jerky. Next, snap a piece. If it breaks like peanut brittle, you’re done. If it bends, it needs more time.
You also could hang the strips over a fire for two or three days. I tend to prefer the dehydrator but in the field, I’d use the fire method in a heartbeat.
Fat-Rendering Tips
This is a slow process. You should start by cutting the tallow and/or suet into chunks. If you’re also adding marrow, slice that up into one-inch pieces. Add all to a cast-iron frying pan over low to medium heat and toss often. Eventually, the fat will pool into the bottom of the pan, leaving some brown chunks behind. Filter the fat to remove the chunks. If there are smaller bits and pieces of brown bits left in the pan, I’ll even run it through some cheese cloth to clarify the fat. Don’t let it smoke or burn. That will give the fat and the resulting pemmican an off taste.
Dried Fruit Tips
Whether I’m using fresh fruit or dried fruit bought at the store, I’ll put the fruits into a dehydrator. Even dried, packaged fruit has some residual moisture. Once the fruit is dried, I’ll pulverize it in the food processor or the blender to break it into bits.
Putting it All Together
I like a 1:1 mix of beef and fat. It’s easier to measure that way. For every cup of dried, pulverized beef, add a cup of fat. The fat should be warm, not hot and not congealed. Mix the fat and meat together with your hands or two spoons. I put it into a tabletop mix-master and use the dough hook to blend everything. If you’re off the grid you may have to use your hands.
Add the dried berries to your taste. I usually add a half-cup and mix it all together again. If you want, you can add some salt to suit your taste. For a cup of meat and a cup of fat plus a half-cup of fruit, I’ll add a half teaspoon of salt when I add the fruit so the salt gets blended into the mixture, as well.
Are You Prepared For A Downed Grid? Get Backup Electricity Today!
If you want to make more, just double or triple the amounts. That’s the other thing I like about a 50/50 ratio of meat to fat. It makes the multiplication easier.
When done, I’ll spoon the pemmican into a cupcake pan and flatten the tops with the back of a knife. I then refrigerate it for about three hours and turn the tray over onto the counter. Each pemmican cake will be greasy to the touch, so place each one in a plastic sandwich bag unless you want to wrap it in a piece of rawhide. I tend to favor the plastic bags. You can store them in a cool, dark place, but mine usually ends up in the fridge.
Tips on Eating Pemmican
Three recipes for eating pemmican have emerged over the years. The first is my favorite.
- Fried pemmican rechaud. This recipe involves frying the pemmican in its own fat. Wild onions like ramps and potatoes were often added until browned, followed by two or three tablespoons of flour and salt to taste. This can be spread on bread or crackers and eaten like a sandwich. I offered some to my wife at the counter once and she walked away shaking her head with disgust. I guess pemmican is kind of a guy thing.
- Rubaboo. This recipe was a favorite of fur traders. A chunk of pemmican about the size of your fist was dropped into a quart of boiling water. Flour is supposed to be added next, and I usually mix the flour with a little pemmican first so I don’t get lumps. Onions, potatoes and carrots can be added and some salt for seasoning. Fur traders also would add a little sugar and chopped salt pork. It will have a soup-like consistency and was eaten that way. I like it with sourdough bread.
- Raw. This was the eating method of choice for Arctic and Antarctic explorers and Canadian voyageurs. A chunk of pemmican was held in one hand and sliced with a knife and chewed. I’ve tried it and it’s not bad. In France, there is a delicacy known as “lardo.” It’s sliced lard and is eaten like a slice of cheese. Suffice it to say, I tried it once and that was enough. Maybe I’ll appreciate it more if I ever go to the Arctic.
Give it a Try
This is a good survival food as a last resort and it has been shown to have a good shelf-life if prepared properly. You can use any game animal, but I would start with beef and make a small batch to start. Five pounds of raw beef will give you one pound of dried beef, and that should be enough for a trial run. Grab some suet while you’re at it so you have enough fat for a 50/50 mix. Enjoy!
How do you make pemmican? Share your tips in the section below:
 Off The Grid News Better Ideas For Off The Grid Living


